
Proper ventilation is by far the most important part of a roofing system. It’s also by far the most overlooked. There’s a race happening right now in the roofing industry to install Class 4 hail-rated shingles and market 160 mph wind warranties. I say — who cares. If your roof isn’t ventilated properly, those shingles are not going to last. They’ll get hammered by every storm that comes through regardless of the rating on the wrapper.
I still drive around in 2026 and watch shingles get delivered to many job sites and all I see is one box of vents. Six roofing vents. And all I can think is — who doesn’t know that’s not enough?
Here’s what’s even more interesting. When I tell a homeowner their house needs 14 vents and they currently have 4, the response is almost always the same. “Oh, we don’t need that many — how about we do 6 or 8.” Like it’s a negotiation. But I’m like — it’s the building code. I didn’t come up with it.
One more thing before we get into it. This blog is only about the 1/300 rule and how to apply it. We’re not getting into which roof vent or soffit vent is best. The formula is the key — and most contractors don’t even know it exists.
Here are the facts — bullet points first, then the detail.
- What is the 1/300 rule — one square foot of ventilation for every 300 square feet of attic space, split equally between intake and exhaust
- What ventilation does my roof currently have — go outside and count your roof vents, then check the underside of your eaves for soffit vents — most homes don’t have enough of either
- How poor attic ventilation destroys your shingles –shingles dry out, granules wash into your gutters, blistering and curling follow, and dried-out shingles fail faster in wind and hail
- How proper attic ventilation extends the life of your roof — the attic cools overnight, shingles stay pliable, granules last longer, and your manufacturer warranty stays intact
- What does it cost to fix poor roof ventilation — roof vents and soffit vents run $50 to $100 each installed — if your roof is already 10 years old wait until replacement
- How to calculate how many roof vents you need — divide your total attic square footage by 300, multiply by 144, divide by 2 — that gives you the square inches of intake and exhaust you need
- How many roof vents and soffit vents do I actually need — divide your square inch number by the net free area rating of your vent — a standard roof vent is 50 square inches, a 8-16″ soffit vent is 56 square inches
What Is the 1/300 Rule

Minimal soffit venting means no cool air entering at the bottom. Without proper intake, even a correctly installed ridge vent cannot do its job.
In simple terms, the 1/300 rule gives you the number of square inches of intake venting and exhaust venting needed to create a balanced system. When you hit that number, you have enough ventilation, and the airflow through your attic is working the way it’s supposed to.
Here’s how ventilation is supposed to work. Fresh cool air enters the attic through the bottom of the roof — underneath the eave, in the area called the soffit. From there it travels up through the entire attic space while the hot air exhausts out through the roof vents at the top. That’s the intake and exhaust working together. One without the other doesn’t work.
Here’s what happens when it’s out of balance. Say you have 14 roofing vents but no soffit venting — where is the intake air coming from? It gets pulled from inside the house, creating positive and negative pressure. You know that feeling when you open a door and another door inside the house slams shut on its own? That’s the pressure inside the house doing that.
Now flip it. Say you have 14 soffit vents but only 2 roofing vents. There isn’t enough air exiting the attic to pull the cool air in, so the attic takes forever to cool down. That’s where my phrase comes from — you’re cooking your shingles from within. The hot air is trapped inside the attic.
Pro Tip: During the heat of the day the attic will be hot. Once the sun sets, that attic should start to cool off quickly. The next morning the attic should take longer to heat up as the sun is rising. This is how a balanced ventilation system should perform. If your attic is not ventilated properly, the hot air is trapped all night long, only to heat up again the next day when the sun rises. Think about this.
Don’t be intimidated by the sound of this formula. Getting your measurements is the hardest part — and you don’t even have to get on the roof to do it. Ground level is all you need, or even just a computer. The formula is the easiest part. Trust me.
What Ventilation Does My Roof Currently Have
You know the saying — “How do you know where you’re going if you don’t know where you’ve been?” Ha. Something like that. Start by going outside and counting your roof vents. If you don’t see any, I wouldn’t be surprised. Check the photos in this blog if you’re not sure what you’re looking for. If you have a ridge vent, grab a tape measure and get a rough measurement from the ground. Note whether your vents look standard size or oversized. Maybe you have a power vent or a turbine vent. Document what you can, and a local roofer can help fill in the details.

Blistering combined with granule loss — two ventilation problems showing up on the same shingle. This roof had no chance once the attic turned into an oven.
Black asphalt fully exposed where granules have been cooked off. This shingle is done — and poor ventilation is the reason it happened years before it should have.
Then look at the soffit area, which is located at the bottom edge of the roof on the underside. Most soffits range from 6 inches to 2 feet wide. Note what style of ventilation you have — none, just wood or vinyl siding (very common), rectangular vents, round vents, or continuous soffit venting. Write down how many and the approximate size and come back inside.
Just a note. There are many variations of ventilation and we can’t cover every one. However, you will learn what to look for if you keep reading.
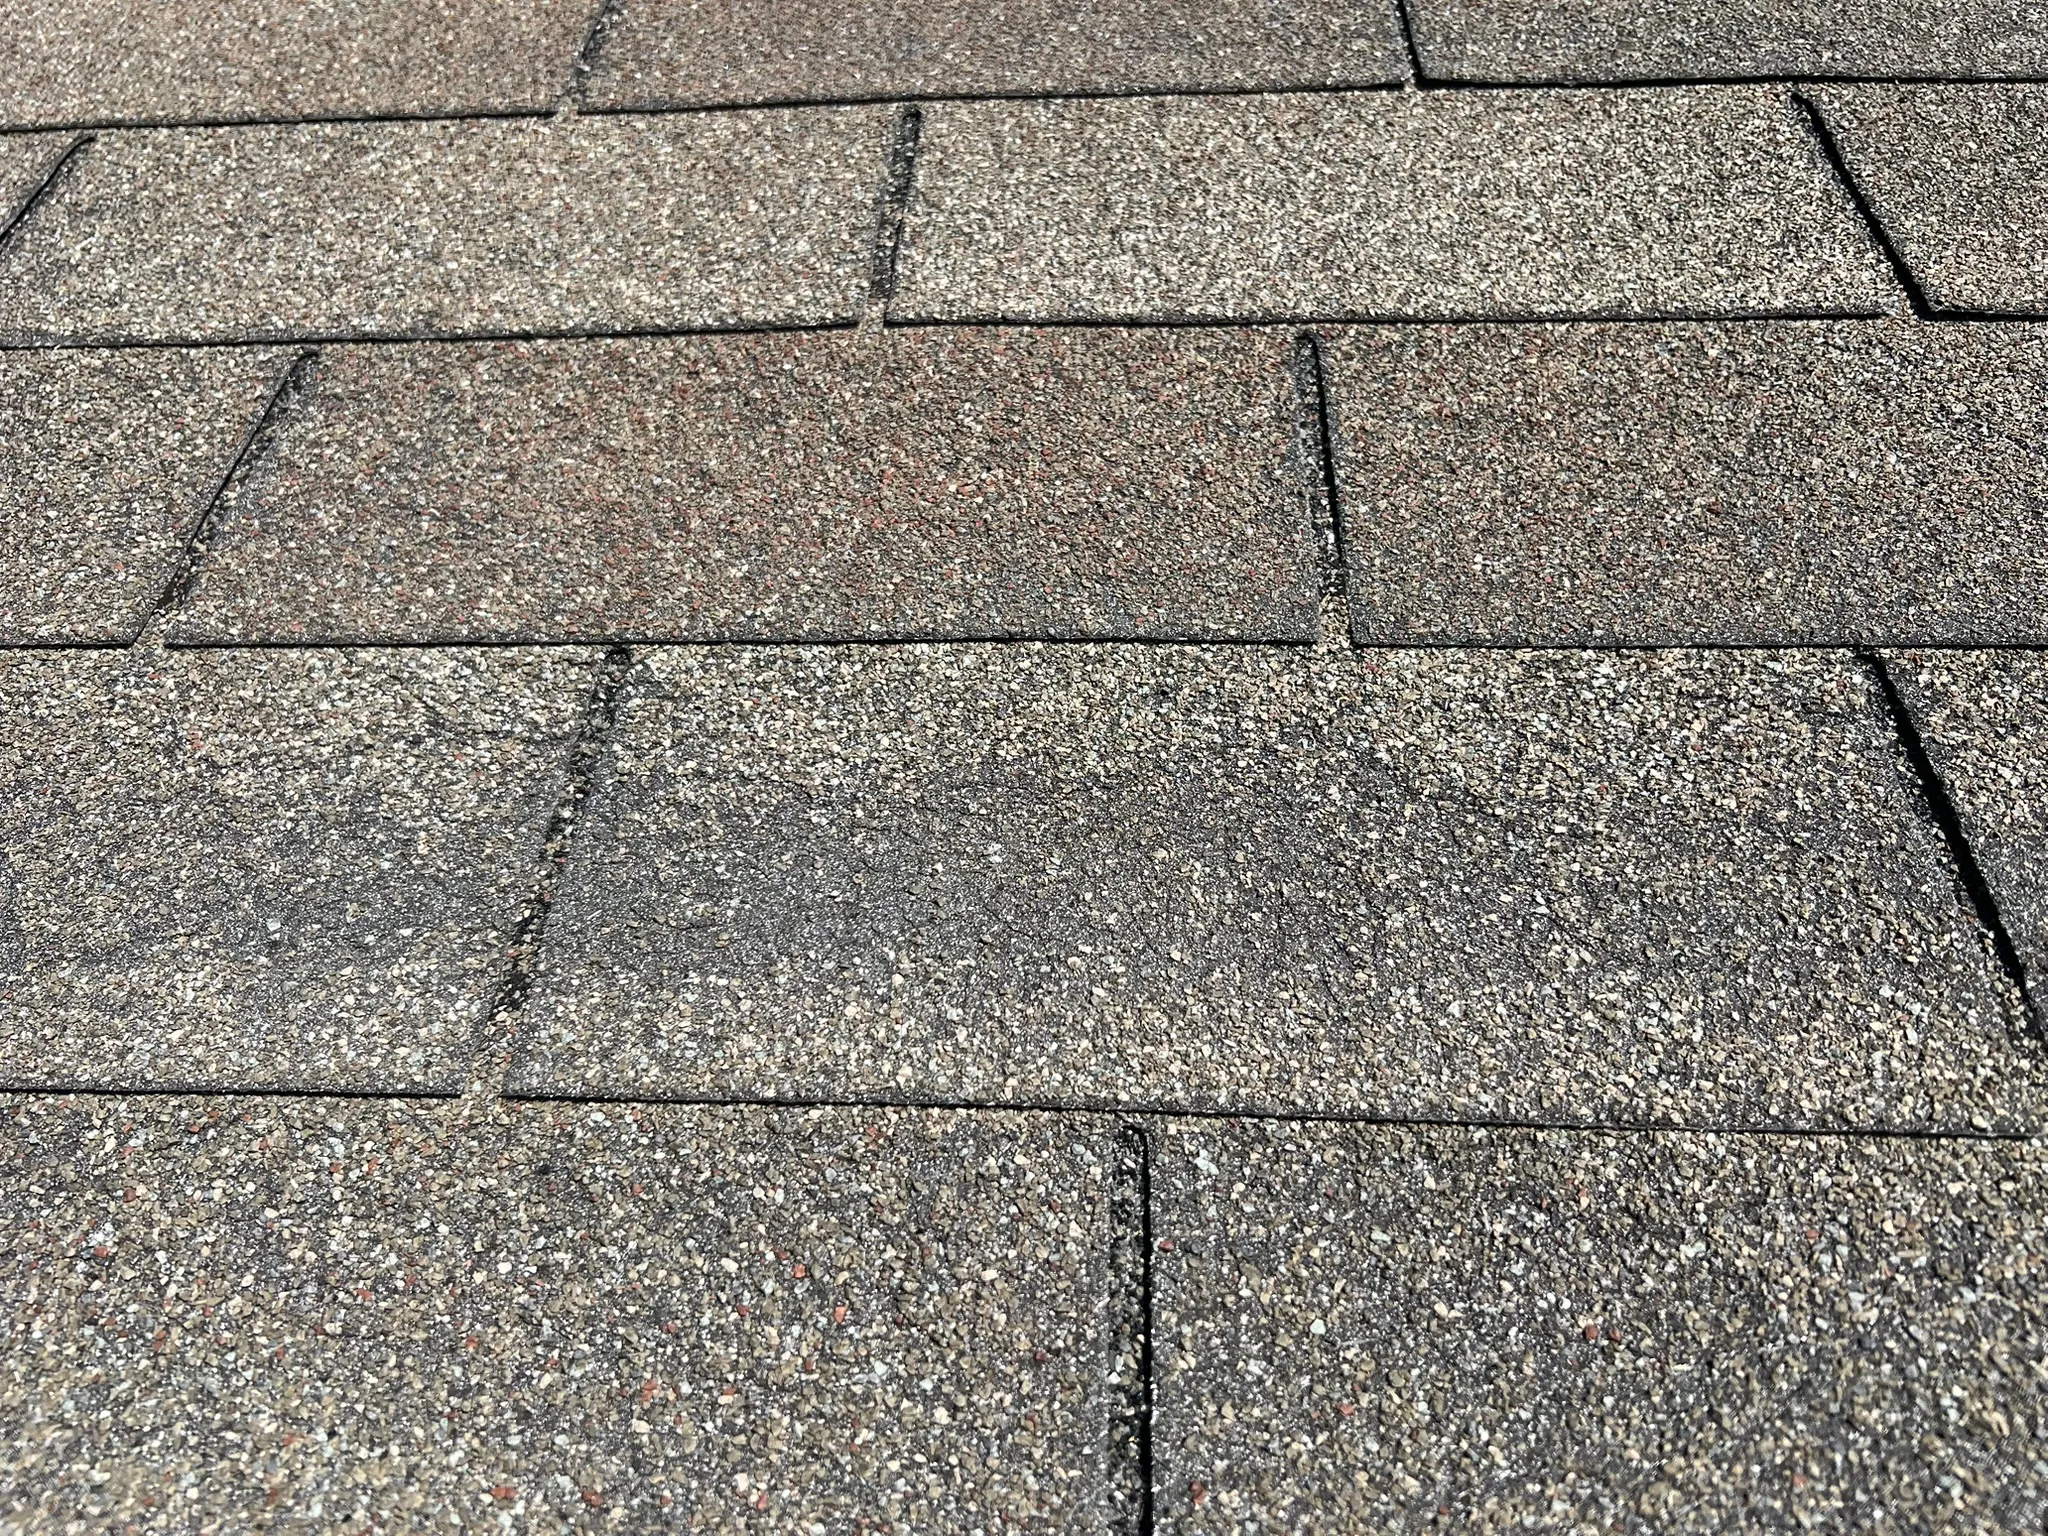
Patchy granule loss close up — the dark areas are where the asphalt is exposed. From the ground this roof looks fine. Up here, it is showing its age early.
Honestly you don’t even have to take this step if you don’t want to. You can skip straight to the formula, calculate your numbers, and hand them to your roofer. But we’d like it if you kept reading.
How Poor Attic Ventilation Destroys Your Shingles
If the roof is not ventilated properly, you open yourself up to quite a few problems.
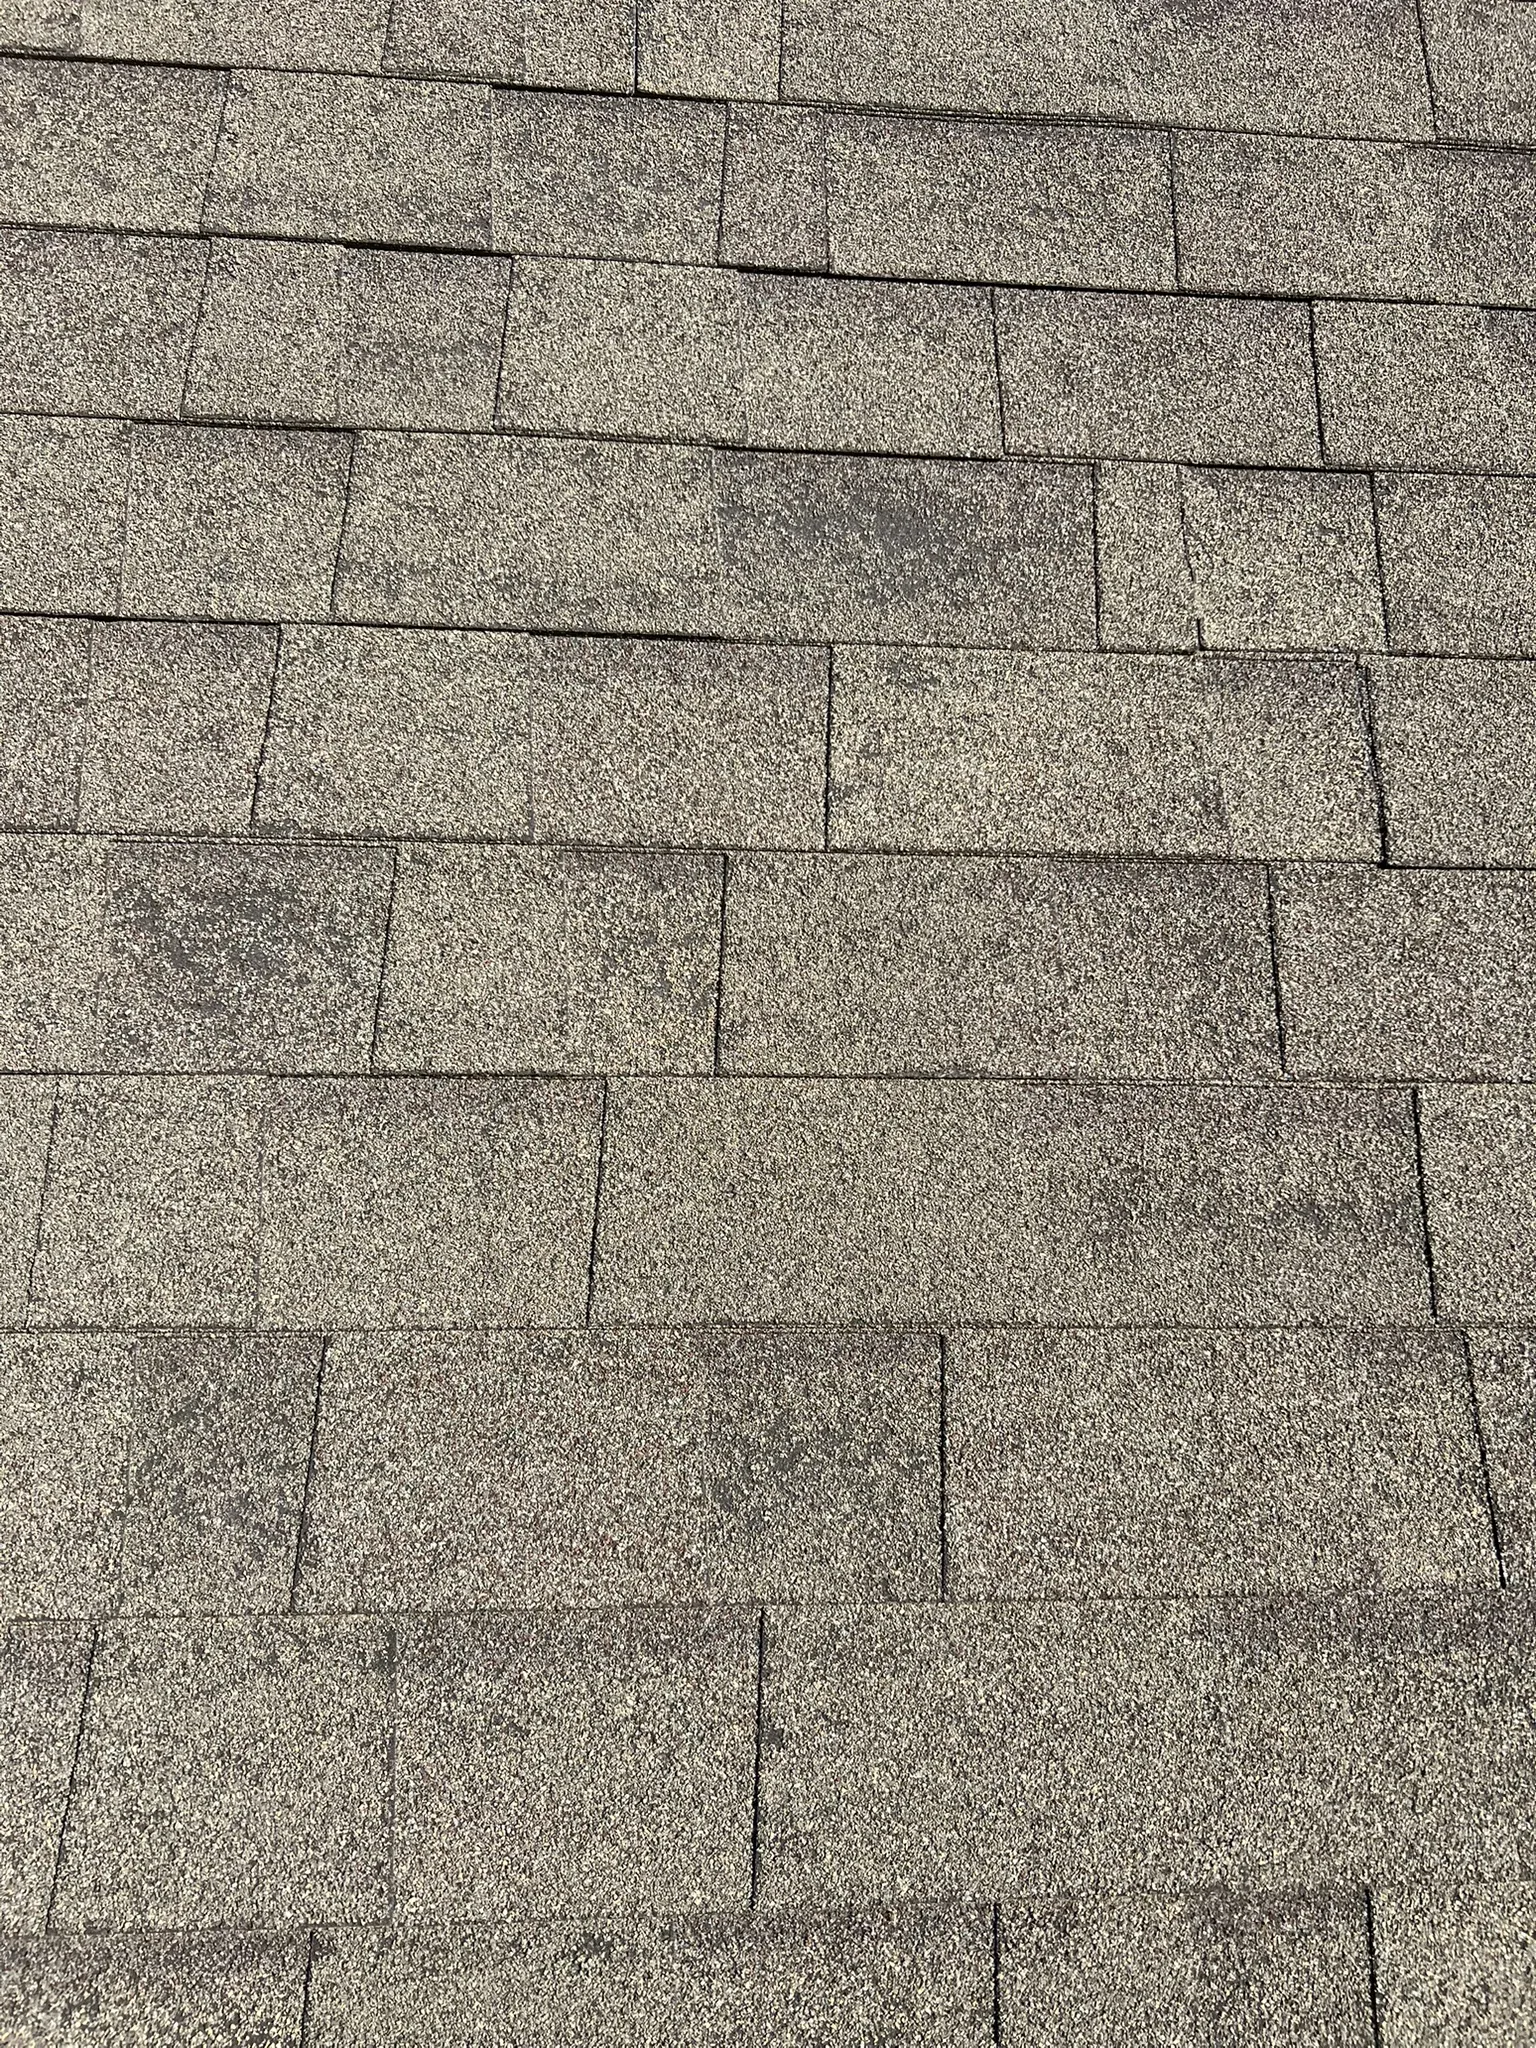
Granule loss. There are small rocks called granules on the surface of every shingle. They serve two purposes — they give the shingle its color and they protect the asphalt coating from the sun. When the attic overheats, the shingles dry out and the granules start washing off into your gutters. Once they’re gone, the shingles will deteriorate rapidly.
Blistering. Blistering is when the shingle completely dries out before its time and pops from the inside out. At that point the shingle has completely failed.
Curling. Curling is another sign of the shingle drying out. The ends of the shingle curl upward at the corners. Easy to spot from the ground and a clear sign the roof is in trouble.
Wind and hail damage. New shingles are pliable and flexible and can withstand a lot more in terms of wind and hail. But once those shingles dry out from poor ventilation, they lose their toughness. The same storm that a properly ventilated roof shrugs off can take out a dried-out roof entirely.
How Proper Attic Ventilation Extends the Life of Your Roof
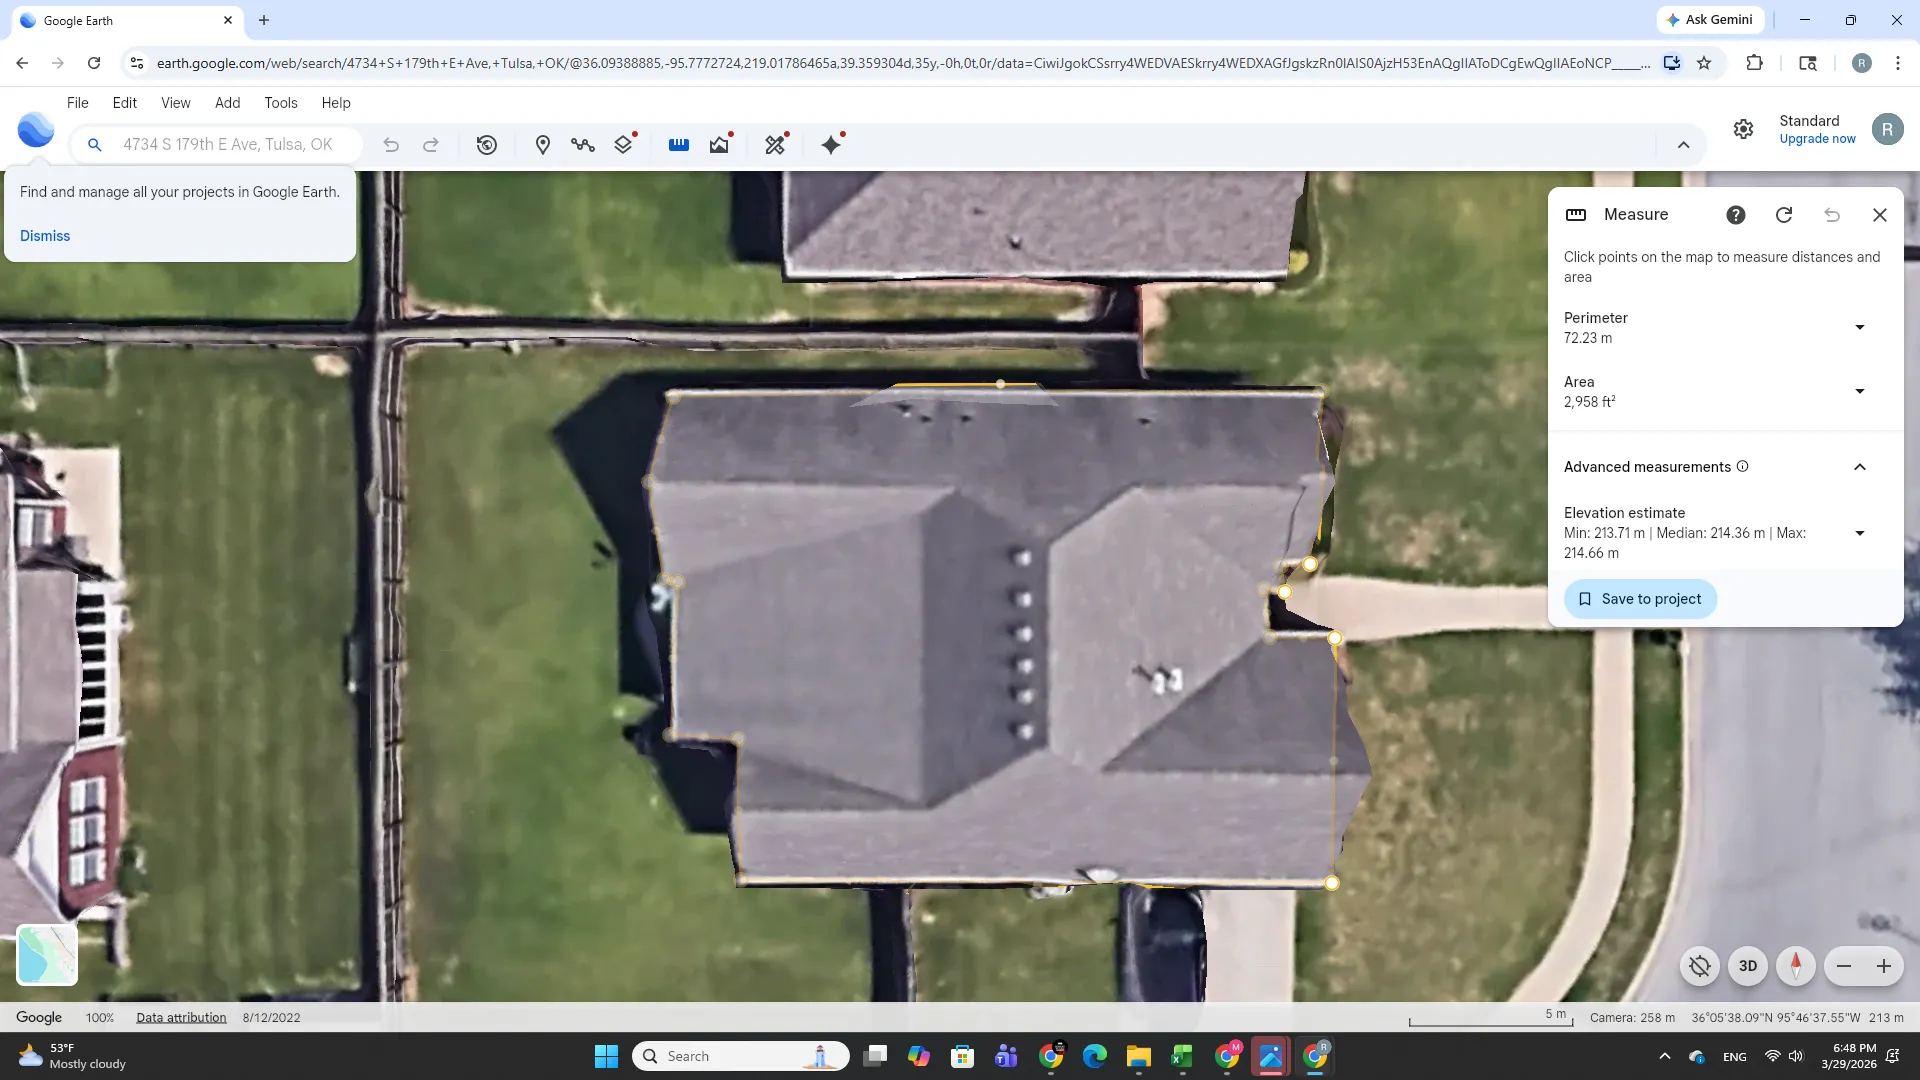
Google Earth measuring tool on a Tulsa home — this is the fastest way to get your attic square footage without getting in the attic. Measure the footprint, run the formula.
The easy answer is the opposite of everything in the section above. Here’s what you get:
Lower cooling costs. When the attic can cool off at night, that transfers to lower energy bills. Your air conditioner isn’t fighting a 150-degree attic all night long.
Shingles stay pliable and strong. The longer the shingles retain their flexibility, the better they hold up against wind and hail. A properly ventilated shingle performs the way the manufacturer intended.
Granules stay on longer. The longer the granules stay attached to the shingle, the longer the shingle lasts.
Warranty protection. If you have a lifetime warranty through the shingle manufacturer, it is less likely that a claim for a defect will be denied because of a lack of ventilation. If the shingle were to fail from lack of ventilation, that claim will be denied.
What Does It Cost to Fix Poor Roof Ventilation
The cost depends on the size of your home. The larger the home, the more ventilation you’ll need. A few other variables include how many vents need to be installed. Say you need 14 vents and currently have 4 — you need 10 more cut in. Same for soffit vents — you might need 13 and currently have none, or you have 10 and just need a few more.
Contractor costs will vary by area, but the average per roof vent or soffit vent could range from $50 to $100 or more. Repair pricing after the roof is already installed could be 2 to 4 times that per roofing vent, while soffit vent pricing tends to be more consistent. Pricing varies by region.
Pro Tip: If your roof is already 10 years old and not ventilated properly, the damage has more than likely already happened. If there are signs the shingles have dried out, I wouldn’t invest the money in ventilation at that point — I’d wait until a new roof is installed and do it right from the start. Soffit vents are the exception and can be added at any time.
How to Calculate How Many Roof Vents You Need
On to the fun stuff. Ha. The 1/300 rule will give you an equal number of square inches for intake and exhaust. Here is what the formula does — it takes your attic square footage, applies the building code standard of 1/300, converts to square inches, then divides by two to give you equal intake and exhaust.
Why square inches? Because all ventilation products — roof vents and soffit vents — are rated and measured in square inches of net free area.
Attic floor space ÷ 300 x 144 ÷ 2 = square inches needed for intake AND exhaust.
The formula is straightforward but you need the attic floor space first. Two easy ways to get it. Walk around the house and measure it section by section. Or go to Google Earth — put in your address, zoom in, and click the ruler icon at the top of the screen.
Think of your house in sections. Start with the largest part first, get that measurement, then add each section that sticks out — the garage, a porch, a sunroom. None of the measurements should overlap. All you need is the length and width of each section. Add them all together and that’s your attic floor space.
Here are four examples showing how this works on common Tulsa houses:
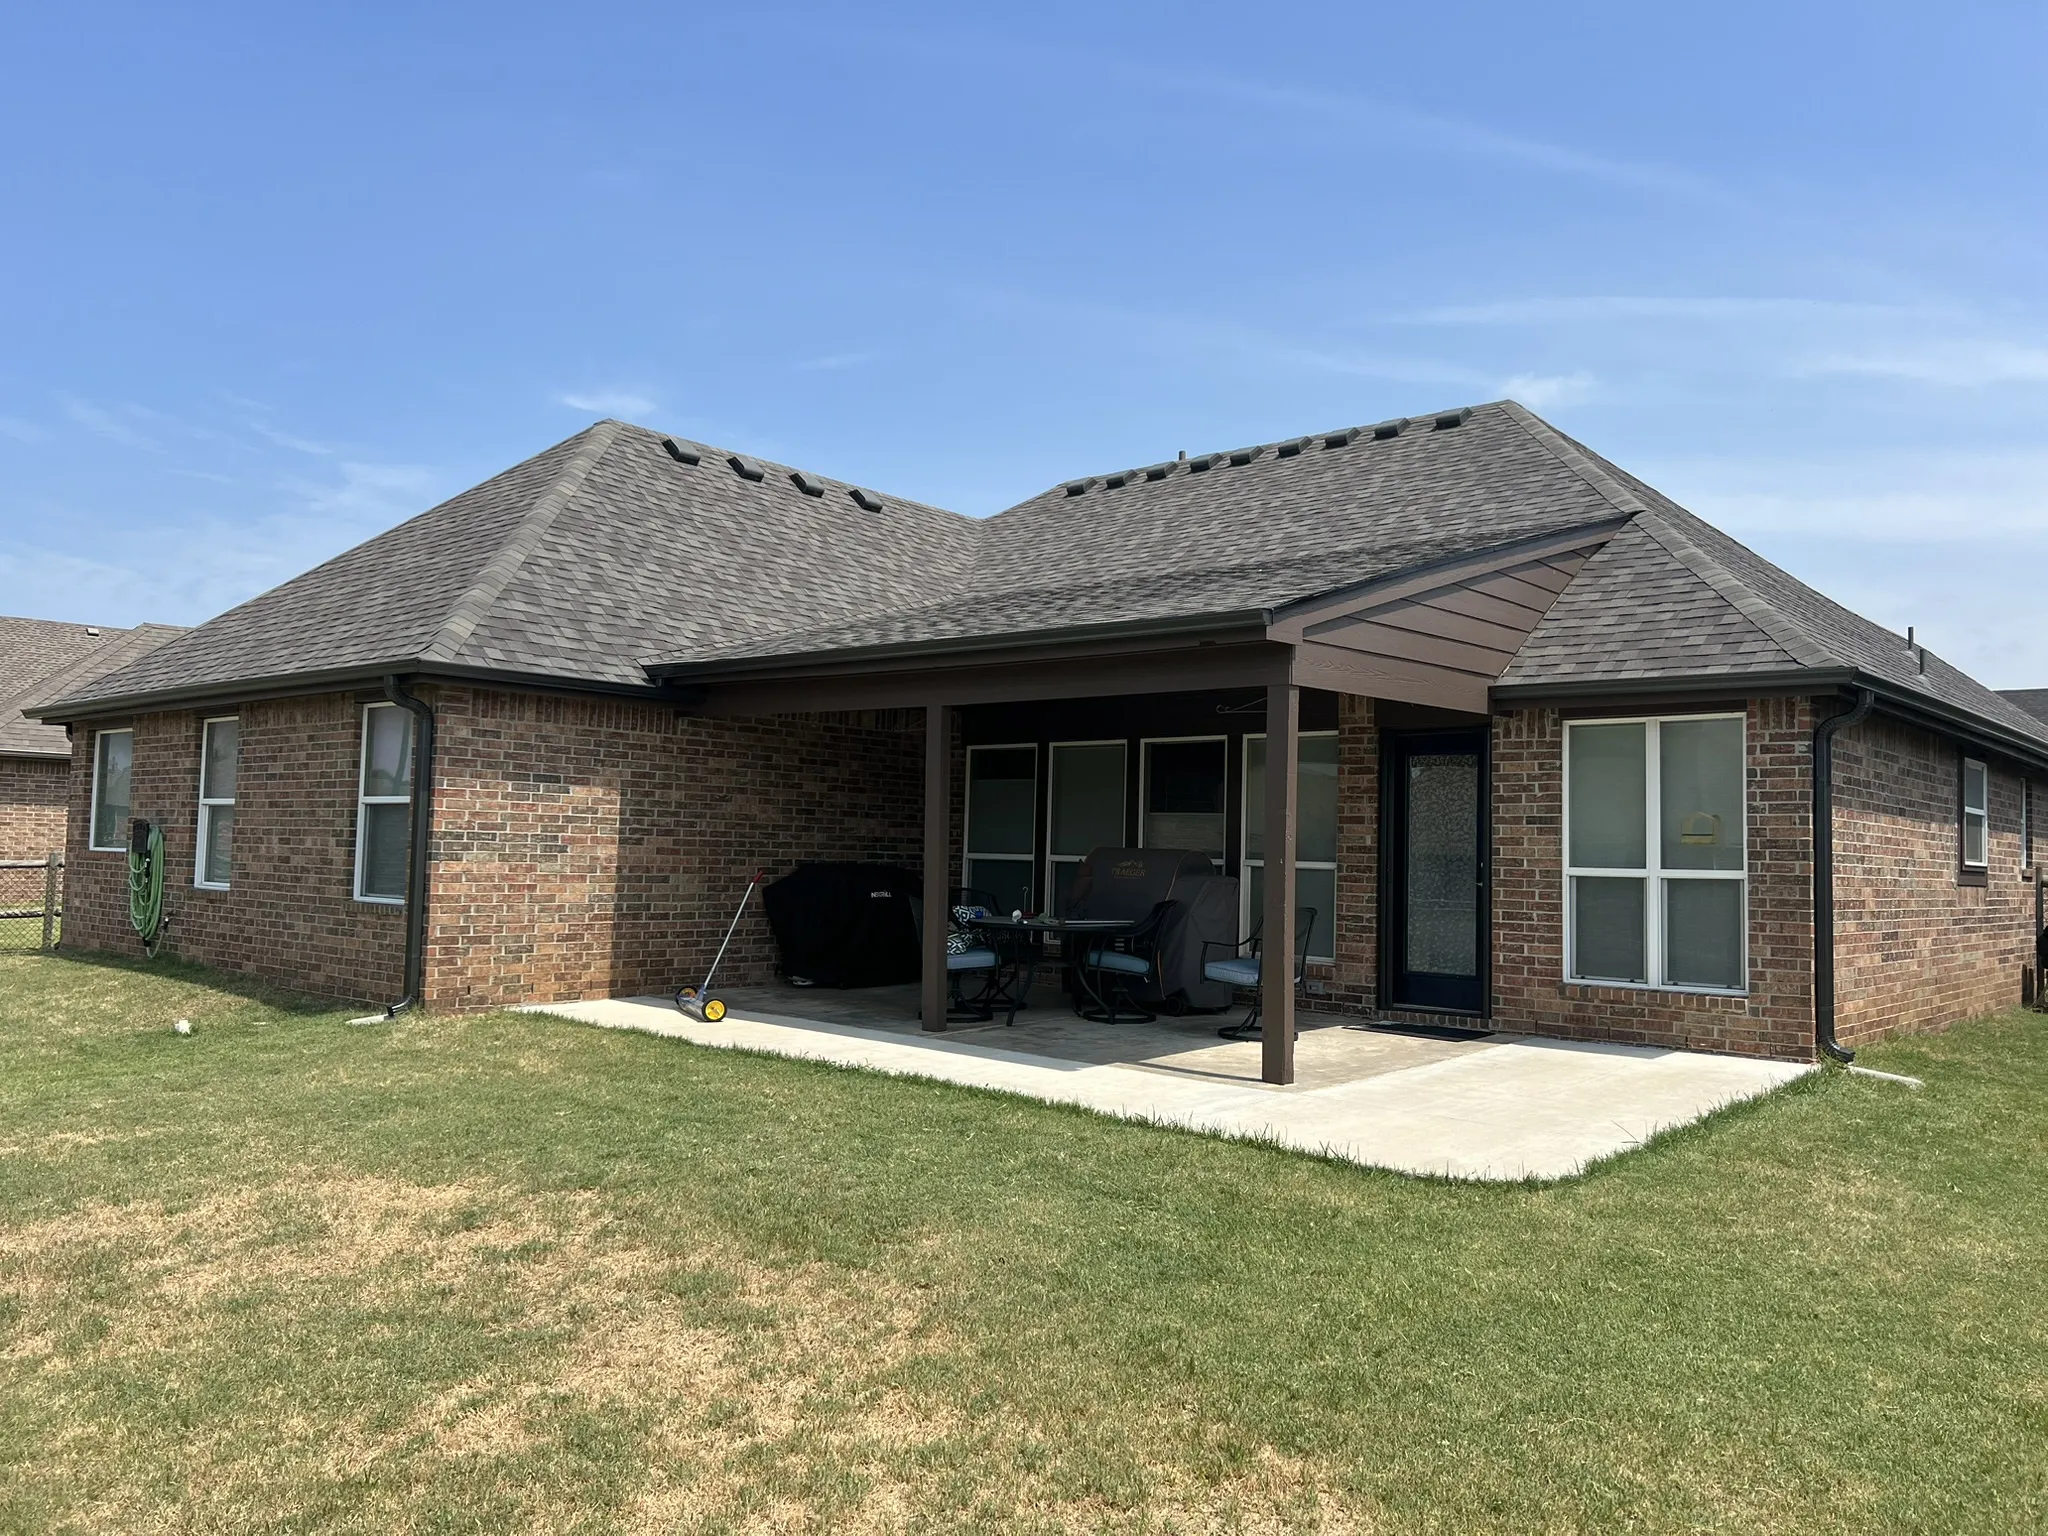
A finished roof with proper ventilation — the right number of vents, the right intake at the soffit. This roof will last. That is the whole point.
| Example 1 — Ranch with attached garage and back porch | ||
| Main structure | 30 x 40 | 1,200 sq ft |
| Attached garage | 10 x 24 | 240 sq ft |
| Back porch | 10 x 15 | 150 sq ft |
| Total attic floor space | 1,590 sq ft | |
| Step 1 — 1,590 ÷ 300 | = 5.3 sq ft | |
| Step 2 — 5.3 ÷ 144 | = 763 sq in | |
| Step 3 — 763 ÷ 2 | = 382 sq in each | |
| You need 382 sq inches of soffit venting AND 382 sq inches of roof venting | ||
| Example 2 — Small ranch, no garage | ||
| Main structure | 40 x 28 | 1,120 sq ft |
| Front porch | 8 x 12 | 96 sq ft |
| Total attic floor space | 1,216 sq ft | |
| Step 1 — 1,216 ÷ 300 | = 4.05 sq ft | |
| Step 2 — 4.05 ÷ 144 | = 583 sq in | |
| Step 3 — 583 ÷ 2 | = 292 sq in each | |
| You need 292 sq inches of soffit venting AND 292 sq inches of roof venting | ||
| Example 3 — Medium home with garage and sunroom | ||
| Main structure | 50 x 40 | 2,000 sq ft |
| Attached garage | 22 x 24 | 528 sq ft |
| Sunroom addition | 12 x 16 | 192 sq ft |
| Total attic floor space | 2,720 sq ft | |
| Step 1 — 2,720 ÷ 300 | = 9.07 sq ft | |
| Step 2 — 9.07 ÷ 144 | = 1,306 sq in | |
| Step 3 — 1,306 ÷ 2 | = 653 sq in each | |
| You need 653 sq inches of soffit venting AND 653 sq inches of roof venting | ||
| Example 4 — Large L-shape home with two-car garage | ||
| Main structure | 55 x 45 | 2,475 sq ft |
| Two-car garage | 24 x 22 | 528 sq ft |
| Total attic floor space | 3,003 sq ft | |
| Step 1 — 3,003 ÷ 300 | = 10.01 sq ft | |
| Step 2 — 10.01 ÷ 144 | = 1,441 sq in | |
| Step 3 — 1,441 ÷ 2 | = 721 sq in each | |
| You need 721 sq inches of soffit venting AND 721 sq inches of roof venting | ||
How Many Roof Vents and Soffit Vents Do I Actually Need?
We are almost done. Hang in there. Every roof vent and every soffit vent is going to give you a square inch rating of ventilation. We are only going to go through a few common ones, but as you research others, always look for the square inch net free area amount. Per CertainTeed’s own specifications, here are the basic vents that you commonly see on a Tulsa roof:
Exhaust vents — on the roof
|
Intake vents — in the soffit
|
Here’s how that plays out across the four examples:
| Example 1 — need 382 sq inches of exhaust and 382 sq inches of intake Exhaust Option 1: 382 ÷ 50 (roof vent 750 style) = 8 roof vents needed Option 2: 382 ÷ 72 (ridge vent 4 ft section) = 6 sections needed Intake Option 1: 382 ÷ 56 (8 x 16″ undereave) = 7 soffit vents needed Option 2: 382 ÷ 26 (4 x 16″ undereave) = 15 soffit vents needed |
| Example 2 — need 292 sq inches of exhaust and 292 sq inches of intake Exhaust Option 1: 292 ÷ 50 (roof vent 750 style) = 6 roof vents needed Option 2: 292 ÷ 72 (ridge vent 4 ft section) = 5 sections needed Intake Option 1: 292 ÷ 56 (8 x 16″ undereave) = 6 soffit vents needed Option 2: 292 ÷ 26 (4 x 16″ undereave) = 12 soffit vents needed |
| Example 3 — need 653 sq inches of exhaust and 653 sq inches of intake Exhaust Option 1: 653 ÷ 50 (roof vent 750 style) = 14 roof vents needed Option 2: 653 ÷ 72 (ridge vent 4 ft section) = 10 sections needed Intake Option 1: 653 ÷ 56 (8 x 16″ undereave) = 12 soffit vents needed Option 2: 653 ÷ 6 (4″ x 16″ undereave) = 26 soffit vents needed |
| Example 4 — need 721 sq inches of exhaust and 721 sq inches of intake Exhaust Option 1: 721 ÷ 50 (roof vent 750 style) = 15 roof vents needed Option 2: 721 ÷ 72 (ridge vent 4 ft section) = 11 sections needed Intake Option 1: 721 ÷ 56 (8 x 16″ undereave) = 13 soffit vents needed Option 2: 721 ÷ 26 (4 x 16″ undereave) = 28 soffit vents needed |
Pro Tip: These numbers are based on standard roof vents and soffit vents. If your contractor uses ridge vents or continuous soffit venting, the numbers change, but the formula stays the same. Always ask your contractor for the net free area rating of whatever vent they are installing and run the math yourself.
Final Thoughts
Your ventilation will either save your roof or cook it. There is no middle ground on this one. If you don’t address the ventilation, just be aware your roof could be cooked in 10 years.
Run the formula. Count what you have. Know what additional amounts you need. And when you replace your roof — make sure ventilation is part of the conversation before a single shingle goes up.
Ventilation is the conversation at every appointment we go to. Shoot us a call at 918-607-7409.